Learn To Draw A Horse: Easy Step-by-Step Tutorial
Are you ready to embark on an artistic journey where you'll learn to capture the grace and power of the equine form? This isn't just a tutorial; it's an invitation to transform simple lines into breathtaking illustrations of horses, a skill accessible to anyone, regardless of their artistic background.
Drawing horses, for some, may seem like a daunting task. The complex anatomy, the fluid movement, the sheer majesty of the animal it all adds up to a challenge. But fear not, aspiring artists! This guide is designed to break down the process into manageable steps, making it super easy for beginners to start.
| Subject: | Horse Anatomy & Drawing |
| Expertise Level: | Beginner to Intermediate |
| Key Concepts: | Construction Shapes, Proportions, Outlining, Detailing |
| Essential Tools: | Pencil, Eraser, Paper, Optional: Colored Pencils, Drawing Pens |
| Techniques Covered: | Step-by-step drawing, Understanding equine anatomy, Perspective |
| Recommended Reference: | Equine Studies Institute |
For every animal drawing tutorial, the process starts with construction shapes and lines. This forms the foundational framework upon which the entire illustration is built. These initial shapes, like ovals and lines, are your building blocks, providing a skeleton for the horse's form. Mastering these initial steps simplifies the overall process.
We've all been there. Drawing horses can be tricky. The intricacies of the anatomy, the curves of the muscles, the posture it all adds up to a challenge. But with the right approach, drawing a horse becomes less about innate talent and more about following a structured method. And it starts with simple shapes and easy to follow steps.
One of the first approaches to drawing is to start with the head. One effective method is to begin by drawing a basic oval, and then dividing it in half with a vertical line. Another popular approach is to use two small circles for the eyes, followed by a large oval for the head. These initial sketches lay the foundation.
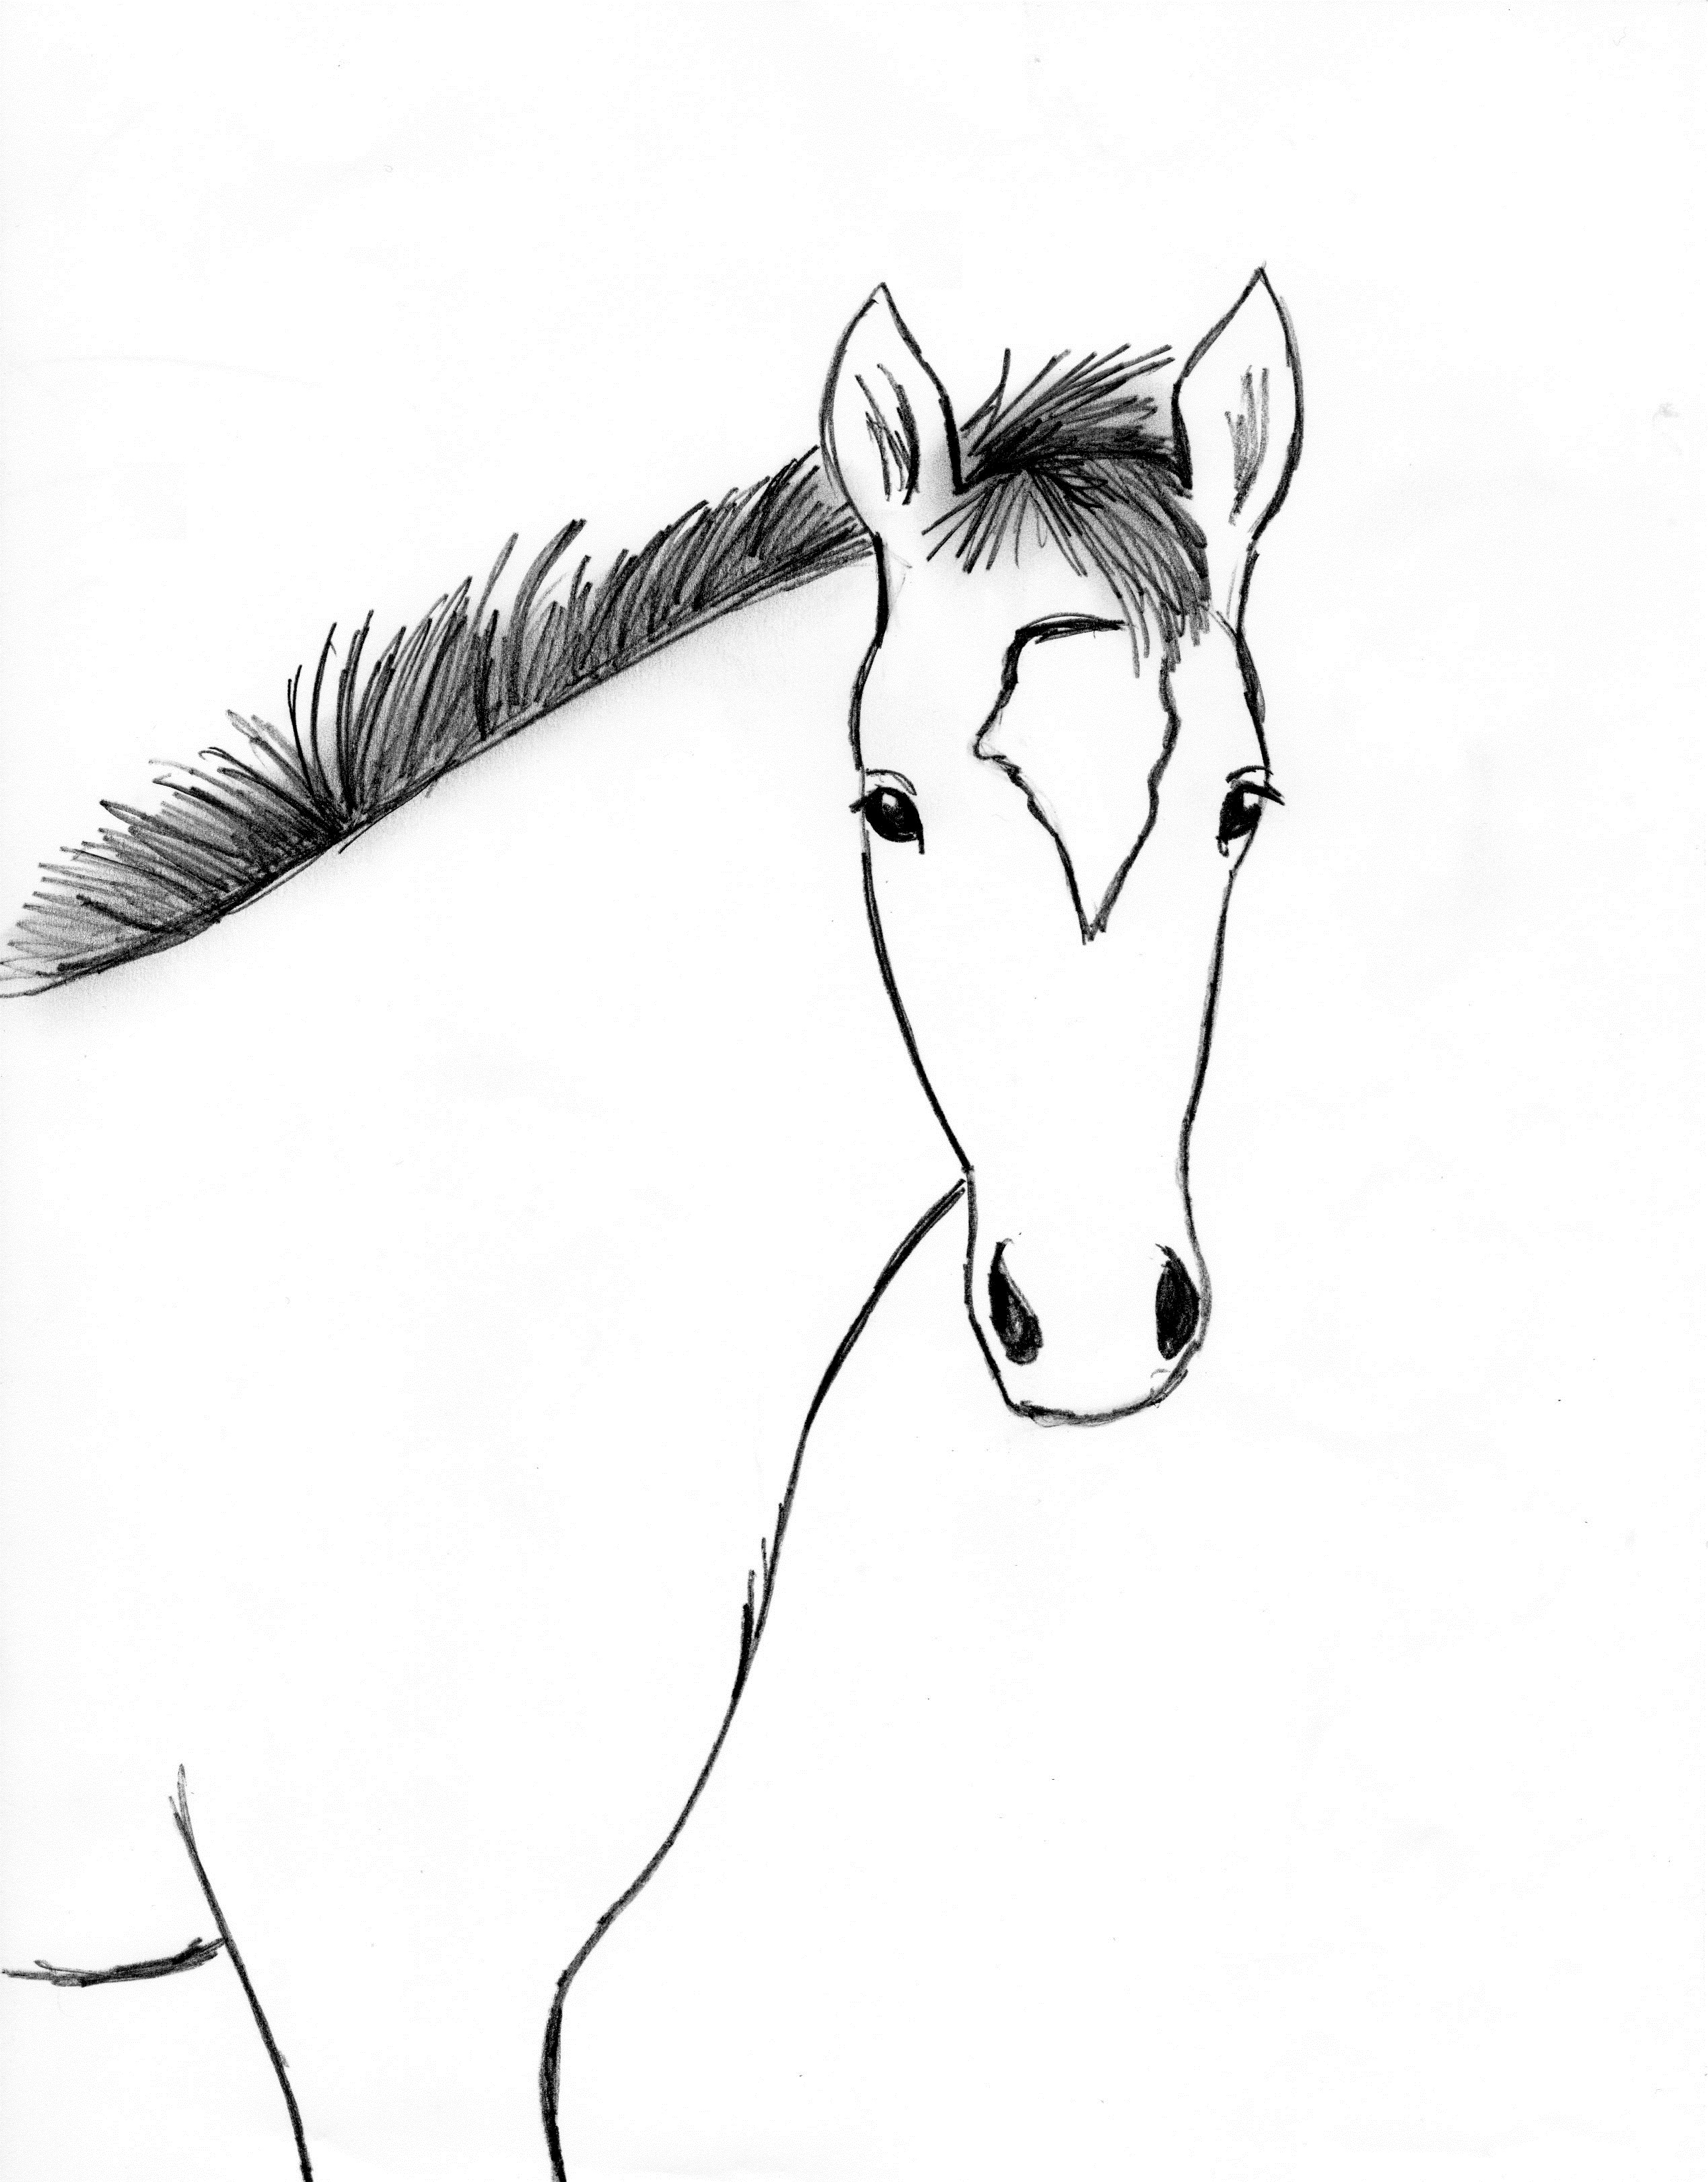
The head, often the focal point of any portrait, deserves special attention. Start with the basic shape whether you choose an oval or circles and then begin to define the features: the eyes, the nose, the mouth, and, of course, the ears. The eyes, though seemingly simple, can bring your horse to life with careful shading and highlights. The nose is all about a long curved line.
The body is equally important. After the head, move on to constructing the horses main body. Start by outlining the horses chest, belly and its backside. The body is often rendered using a large oblong shape. And after that you can add the legs.
Legs and hooves require special consideration. Hooves are, in fact, a horses nails. A horse's hoofs are as distinctive as human finger prints. They are as distinctive as human fingerprints. To draw a hoof from the side view, draw a line extending the leg's length. Then draw a rhombus touching the line with one corner.
How do you draw horse legs and feet? Often, they are the most challenging part of drawing a horse, but this shouldn't deter you. Start with a basic construction before diving into the details. This tutorial will show you how to draw legs and feet with a grid.
Heres a simple way to approach drawing a horse. You can begin the easy horse outline by sketching the horse's face. Outline the nose with a long curved line. Draw an irregular round shape for the eye, and shade a partial circle inside it. Then, you can add the neck, drawing the mane over it. The lines should meet at the mouth. And don't forget the tail!
As the drawing progresses, you can add more details. For the second step of your horse drawing, adding the horses mane and tail. Remember, these are unique features of a horse. Start off by adding some jagged lines between the ears for the mane. Simply draw the red lines in each step, then move on to the next step in just a few minutes, you'll have a drawing of a horse!
After you have established the basic shapes, the next step is to refine the outline. This means smoothing out the proportions and removing any extra lines to create a basic side view drawing of the horse. Use one curved line for the front of the face, and one at the bottom of the horse's head. The lines should meet at the mouth.
Drawing is about more than just replicating what you see. The challenge lies in understanding the structure beneath the surface. Starting with the face, ears and so on is the key.
Here are some alternative methods that you can use:
- Method 1: The Basic Approach
Draw an oval and simple horse head shape. Connect both of the shapes with a neck. Erase the inside lines and add two horse ears and a face. Draw the mane over the neck. Erase the inside line and add two a front leg and a back leg with hooves. - Method 2: Using Basic Shapes
To draw a cartoon horse, draw a large circle divided into 4 parts by a cross. On the lower part of the big circle, draw a smaller horizontal oval. Draw 2 slanted diamonds on top of the head to make the ears, then draw a large oblong shape for the body and add 4 rectangular legs.
Drawing the mane also provides a creative opportunity to showcase movement and style. Experiment with different line weights and textures to achieve the desired effect. Similarly, the tail adds a dynamic touch to the drawing.
Once the sketch is done, the final step is to draw the final lines. If you were drawing lightly enough, you should be able to draw the final lines over it. If not, you can either draw the final lines with a thicker, darker tool, or put a new sheet of paper over the sketch. Remember, drawing horses can seem complex, so the step-by-step process is critical.
If you're teaching a child, or just beginning yourself, here are some easy steps to try and recreate an easy horse drawing. Grab a pencil and eraser to get started. Remember to keep it simple and fun!
This simple "how to draw a horse" drawing lesson is designed for anyone; veteran artists, beginners and kids, with easy to follow steps. Feel free to print this page and use as a drawing tutorial.
For those looking for a more detailed guide, consider exploring the option of colored pencil horse drawing ideas. These ideas show off bright colors, detailed work and help in the process of adding finishing touches.
Many resources offer tutorials, including step-by-step horse videos on YouTube. Scan the QR code (if applicable) to see a video of the horse drawing.
Remember to establish your perspective and draw the base for your sketch, then outline the horses chest, belly & its backside; and finally draw the horses neck and the head. Continue to add front & back legs, and finish drawing the horses legs and tail.
There are also 40,000 free horse illustrations, drawings and designs available. Search through galleries full of stunning horse illustrations and drawings that you can easily download for free. This is a great source of inspiration.


